How to Apply Oil-Modified Stain on Hardwood Floors
Oil-modified stain is one of those products that can completely change the look of a hardwood floor. It brings out the grain, adds warmth, and gives the wood a deeper, richer color. But the stain is only part of the story.
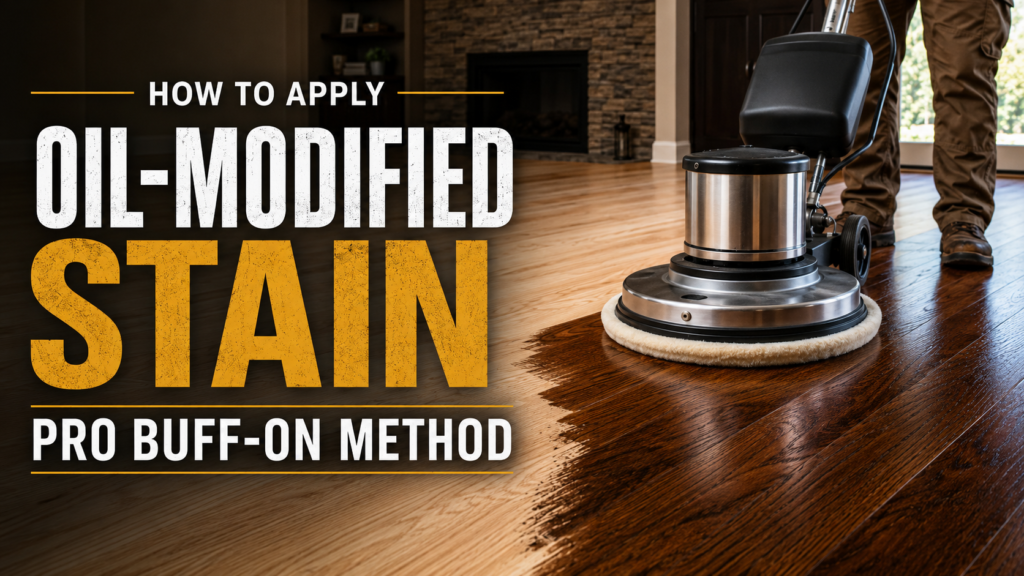
The real difference comes from the prep and the way it is applied. In this video, Young Brothers Hardwood Floors shows the pro buff-on method for applying oil-modified stain to hardwood floors.
What Is Oil-Modified Stain?
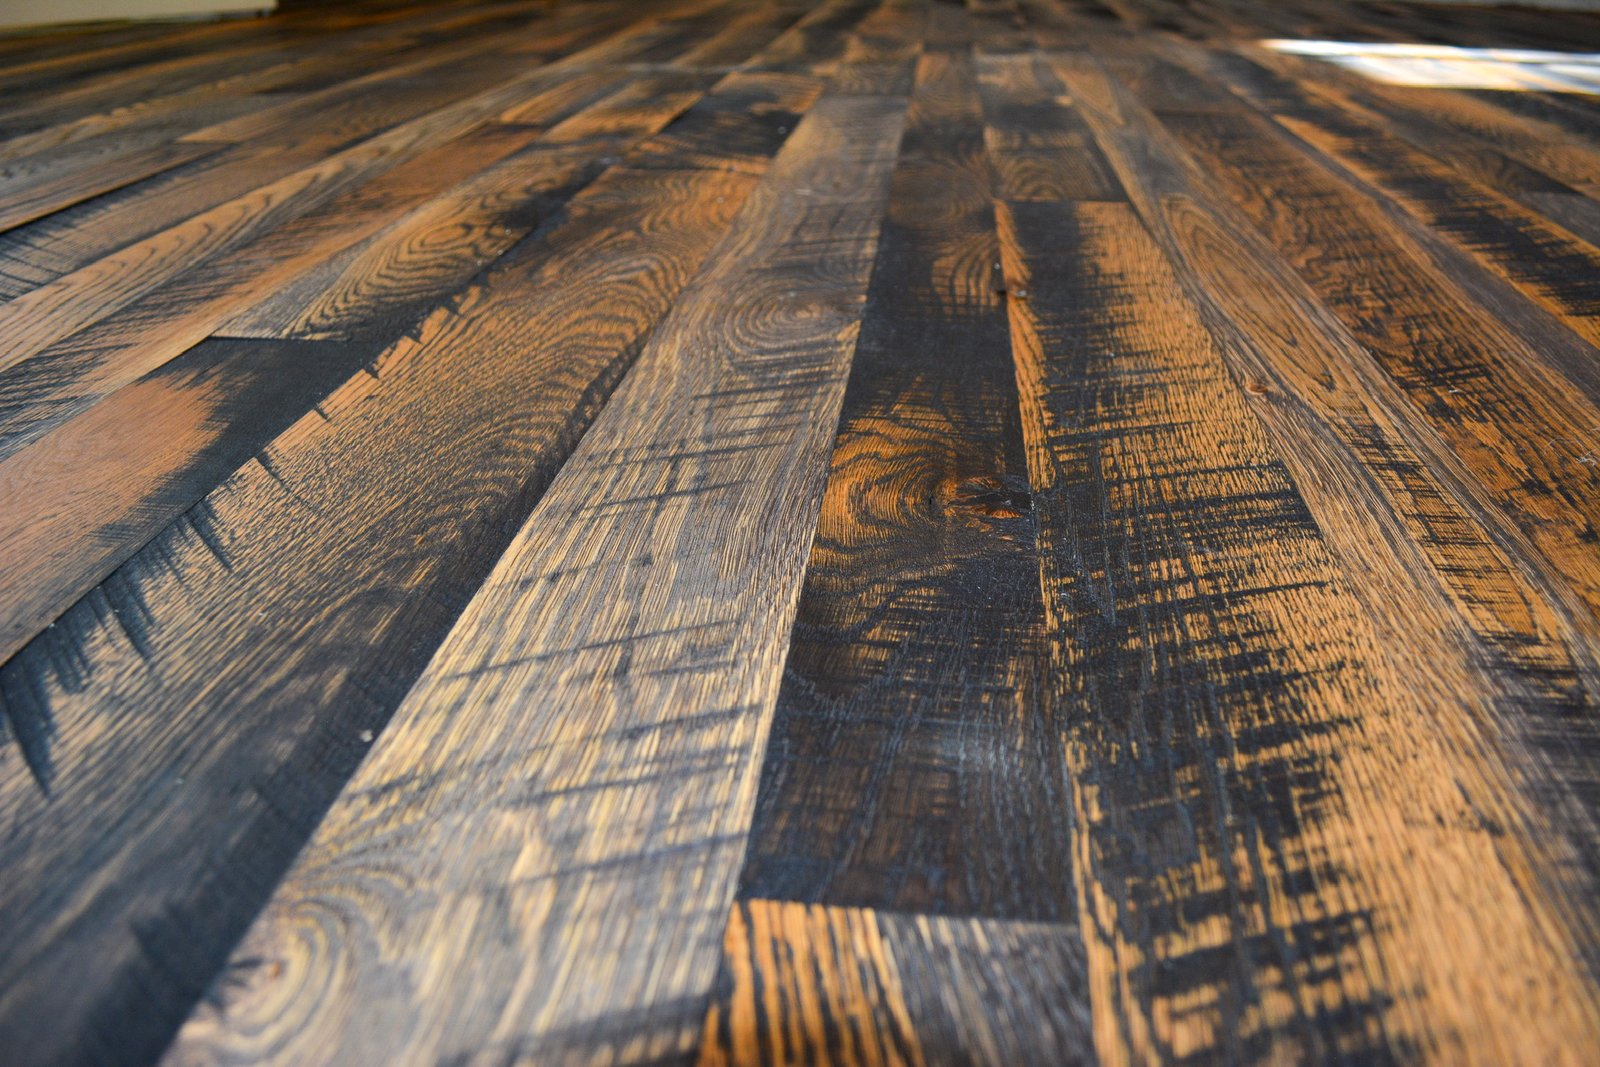
Oil-modified stain is a penetrating stain used to color hardwood floors while still letting the natural wood grain show through. It does not cover the wood like paint. It soaks into the surface and works with the character of the floor. That is why sanding and cleaning are so important before stain goes down.
If the floor has sanding marks, dust, scratches, or uneven areas, the stain can make those issues stand out. A good stain job starts before the stain can is ever opened.
Why Use the Buff-On Method?
The buff-on method uses a floor buffer and pad to help spread the stain evenly across the hardwood floor.
Instead of only applying stain by hand, the buffer helps work the stain into the grain and keeps the color more consistent across larger areas.
This method is helpful because it can:
- Spread stain more evenly
- Help reduce lap marks
- Work color into the wood grain
- Keep large open areas more consistent
- Create a cleaner professional look
Hand work is still needed around edges, corners, and tight spaces. The buffer handles the open floor, but the details still matter.
Step 1: Sand and Prep the Floor
Before oil-modified stain is applied, the floor needs to be sanded through the proper grit sequence. This step matters because stain will not hide sanding mistakes. It usually does the opposite.
Marks from the drum sander, edger, buffer, or skipped grits can show up once the stain hits the wood. That is why the prep work has to be clean before moving into stain. The floor should be smooth, evenly sanded, and free from visible scratches that could catch color unevenly.
Step 2: Clean the Floor Before Staining
After sanding, the floor should be thoroughly vacuumed and cleaned. Dust left behind can interfere with how the stain absorbs and can leave gritty or uneven spots in the final color.
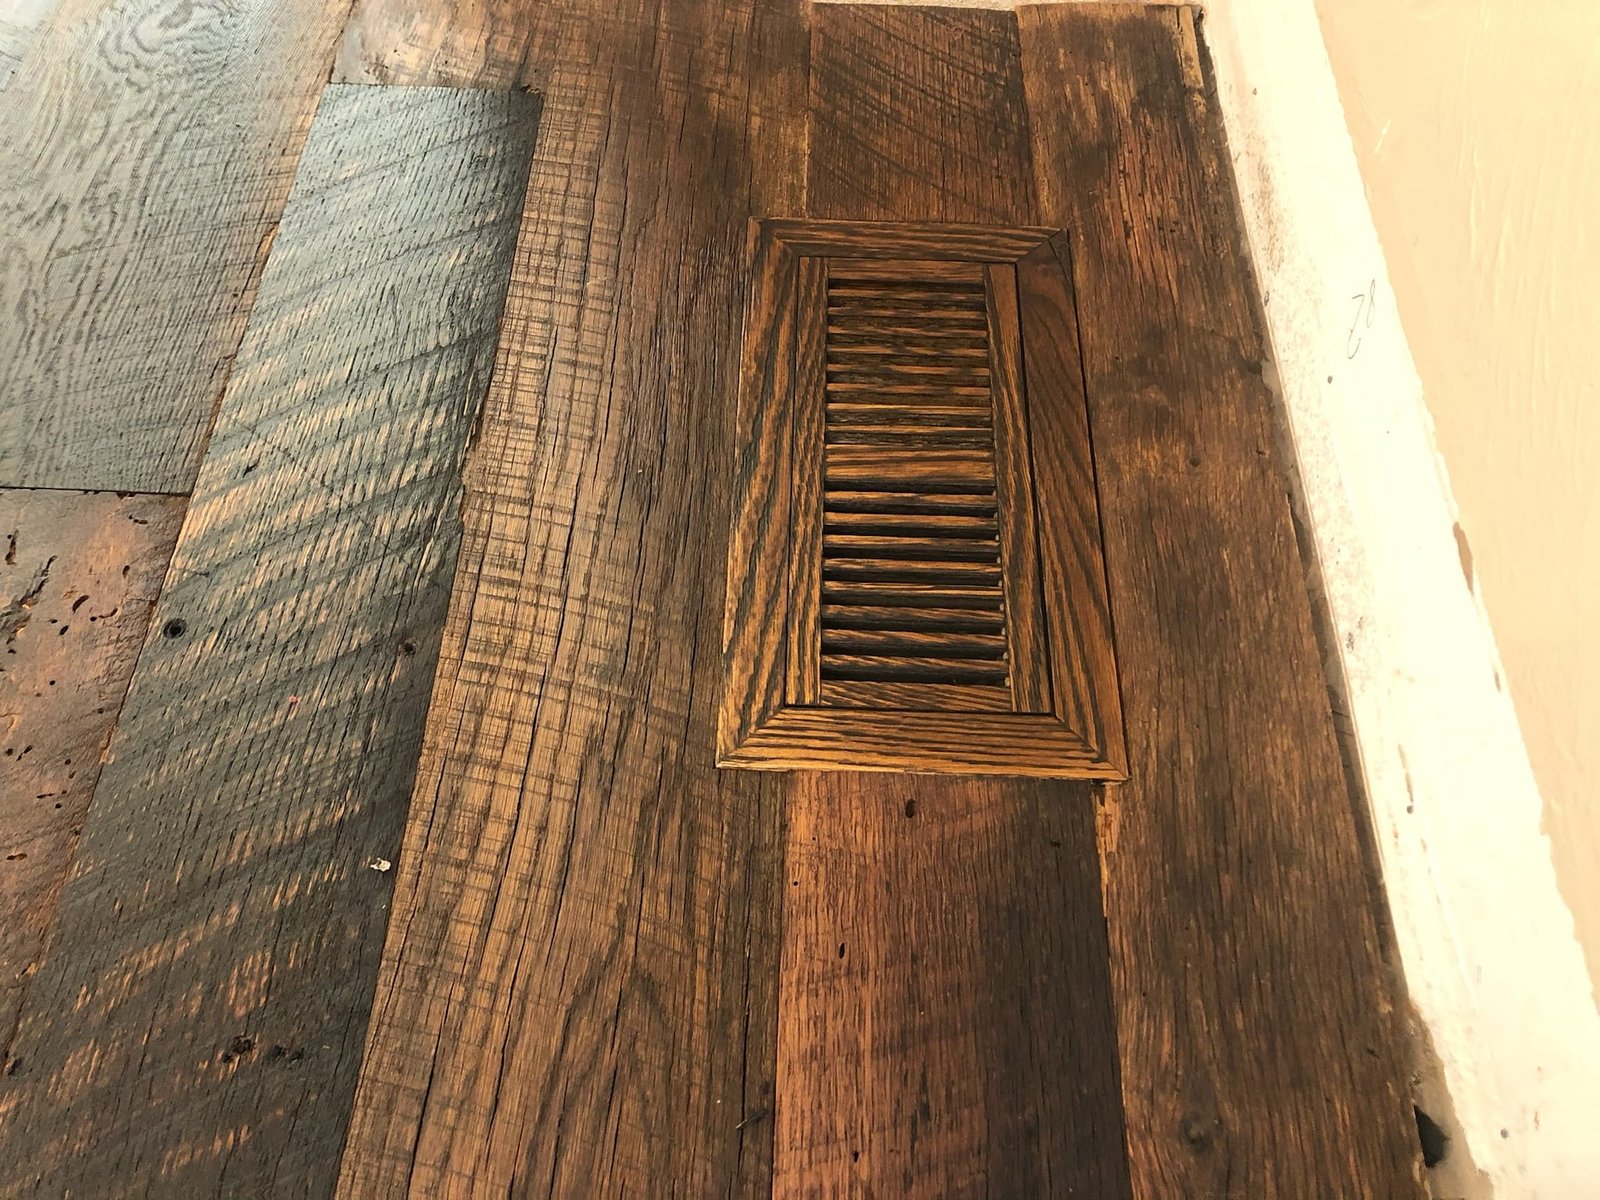
This includes the open floor, edges, corners, vents, gaps, and transitions. A clean surface helps the stain lay down better and gives the applicator more control during the buff-on process.
Step 3: Apply the Oil-Modified Stain
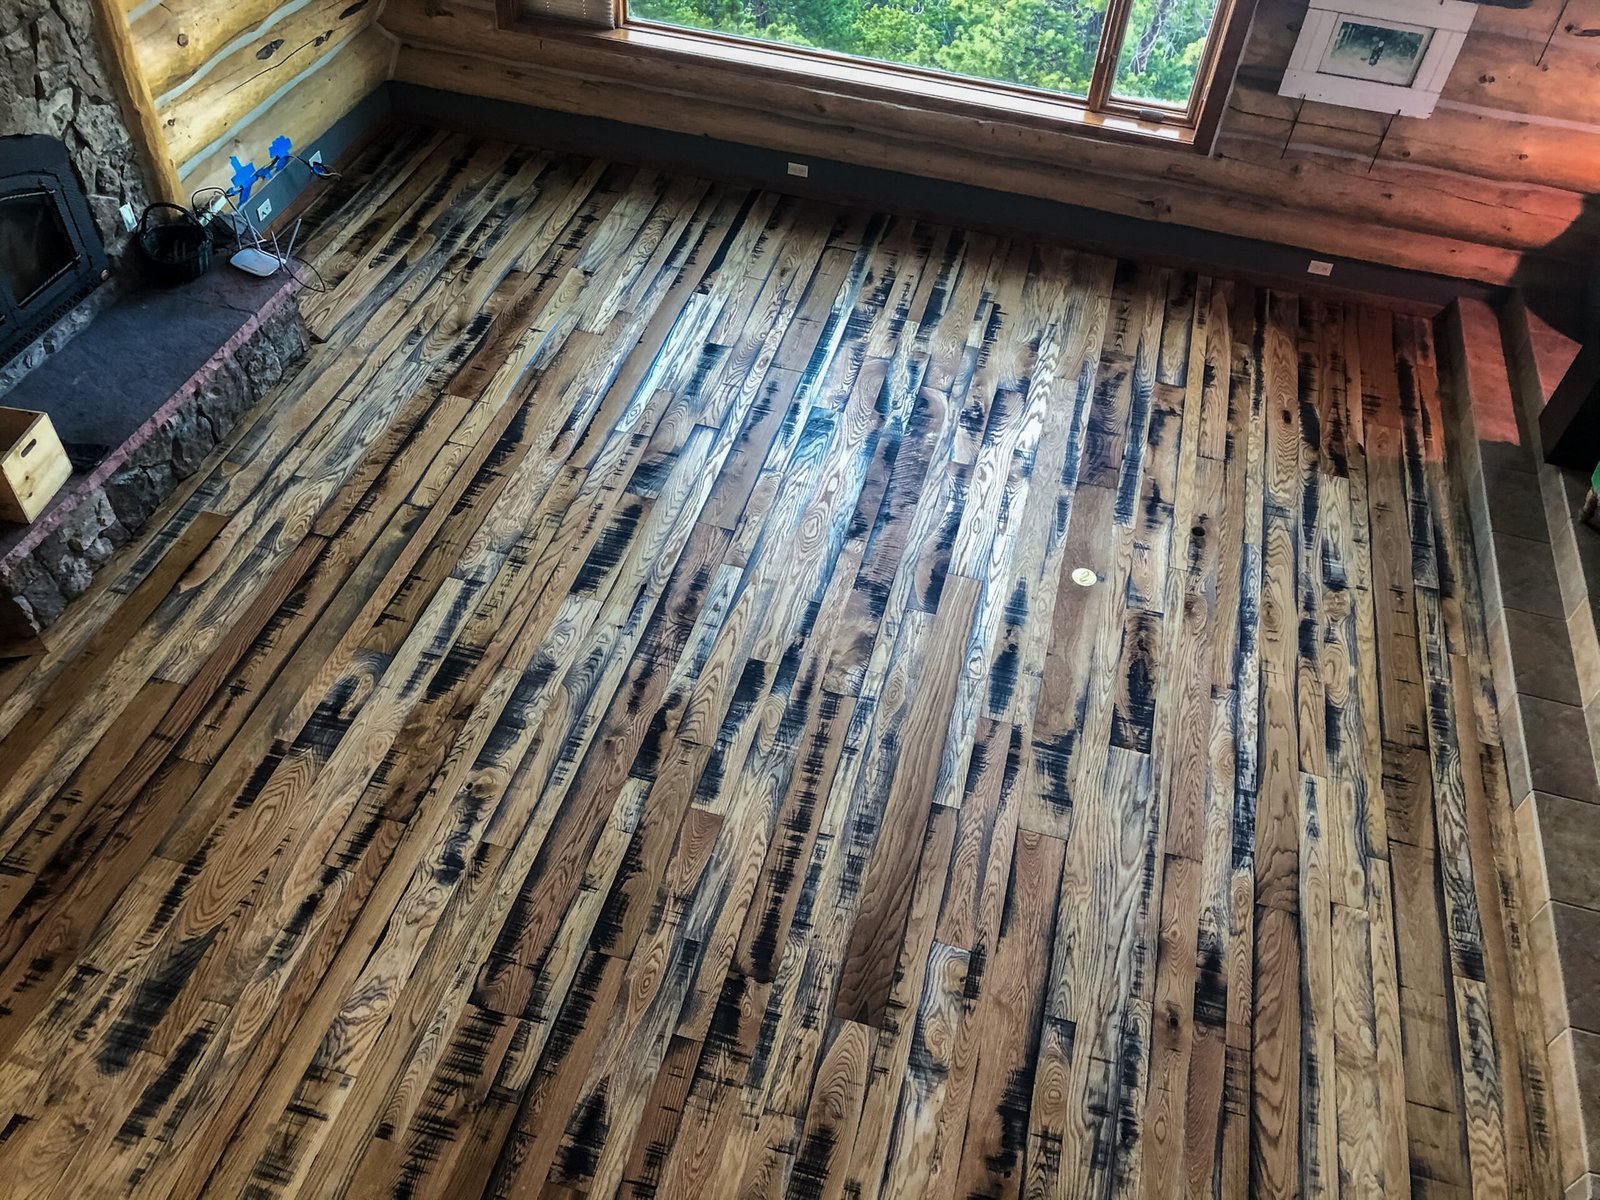
Once the floor is ready, the stain is applied in manageable sections. With the buff-on method, the buffer helps spread the stain and work it into the wood grain. The goal is even coverage without heavy puddles, dry spots, or rushed transitions between areas.
The stain should be controlled as it is applied. Too much stain can slow dry time and create sticky areas. Too little can leave the color weak or uneven. A good application gives the wood a rich, natural tone without overloading the surface.
Step 4: Wipe Off the Excess
After the stain is worked into the floor, excess stain needs to be removed. This is one of the most important parts of the process because oil-modified stain is supposed to penetrate the wood, not sit heavy on top of it.
Leaving too much stain on the surface can cause drying issues, blotchy areas, and problems when finish is applied. When the excess is removed properly, the floor should look even, rich, and clean, not wet or greasy.
Step 5: Let the Stain Dry Before Finishing
Oil-modified stain needs time to dry before the finish system goes on. Dry time can depend on the product, wood species, stain color, temperature, humidity, airflow, and how heavily the stain was applied.
Darker colors and heavier applications may take longer to dry. Rushing this step can create problems with the finish, so the floor should be fully ready before coating. Always follow the product directions and jobsite conditions.
Final Thoughts
The pro buff-on method is a clean way to apply oil-modified stain on hardwood floors when the goal is smooth, even color. It helps spread the stain across larger areas, work the color into the grain, and reduce some of the issues that can happen with uneven hand application.
Like most hardwood floor work, the result comes down to the prep and the details. Sand it right, clean it well, apply the stain evenly, wipe off the excess, and give it time to dry before finish. That is how you get a stained hardwood floor that looks rich, natural, and professionally done.
For questions about hardwood floor staining, refinishing, or choosing the right stain color, contact Young Brothers Hardwood Floors.